The Dashboard is the main page of the Customer Photo Uploader app. Here you can track your setup progress, check the Theme App Block Status, manage recently uploaded photos, and get help from our Support team.
Upload Photo
The Upload Photo button lets you quickly add images to your Custom Galleries. It's especially useful when you want to add photos your customers shared on social media or other sales platforms. Learn more about uploading and managing photos.
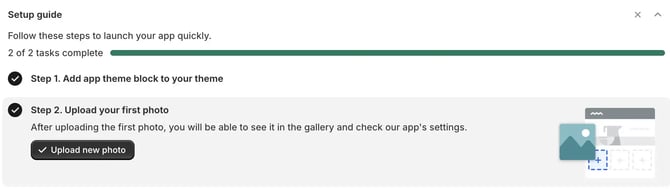
Setup Guide
Use this section to track the installation and configuration progress of the app:
- Progress bar — shows the overall setup completion status.
- Step-by-step details — expand each step to see more information.
If a step requires your action, the progress bar highlights it and the checkbox next to that step stays unchecked. For the full setup process, see the installation instructions.
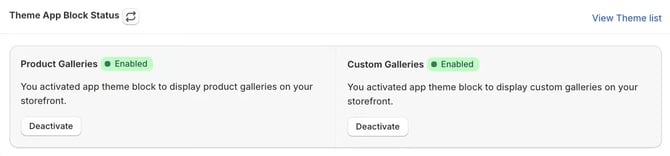
Theme App Block Status
This section shows whether the Customer Photo Uploader app block is enabled in your main theme. It has two blocks: one for Product Galleries and one for Custom Galleries.
Possible statuses:
- Enabled — the app block is enabled in the main theme.
- Disabled — the app block is disabled in the main theme.
Available actions:
- Refresh status — update the statuses to the latest information.
- View Theme list — see detailed statuses for each theme in your store.
- Activate / Deactivate — open your theme editor to turn the gallery on or off.
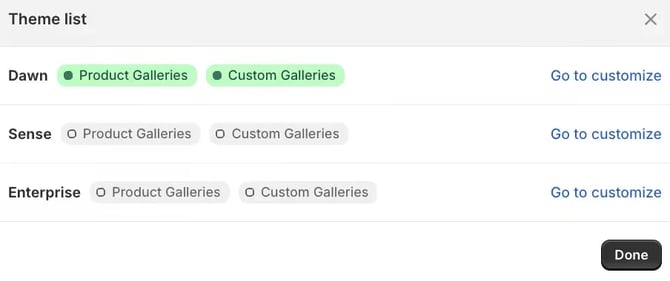
Status in all themes
Click View Theme list to check the status of your Product and Custom Galleries in every theme in your store. Use Go to customize to open the theme editor for a specific theme.
Recently uploaded
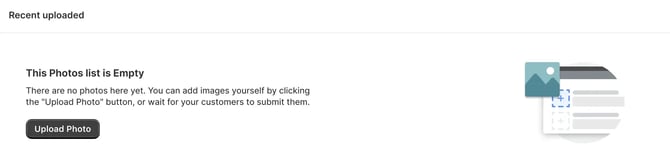
Review and manage recently uploaded photos — both from your customers and your own uploads. To add new photos to your Custom Galleries, use the Upload Photo button at the top of the page, or the button in this block if you haven't uploaded any photos yet.
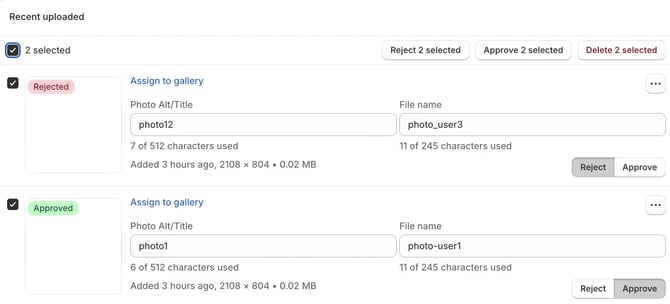
Here you can:
- Assign a photo to a specific gallery and choose the product pages where it's displayed.
- Approve or reject a photo to decide whether it's shown on your store, one by one or in bulk.
- Edit the Photo Alt/Title and File name.
- Manage the photo's Description and Email fields.
- View and edit photos in Shopify Files.
- Delete photos.
Learn more about managing photos in Customer Photo Uploader.
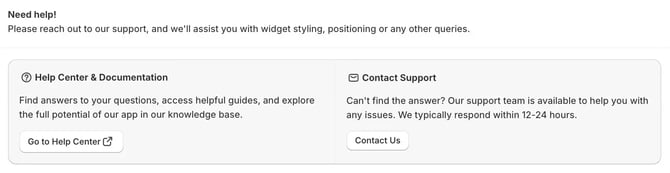
Need help?
Choose the most convenient way to get help with Customer Photo Uploader:
- Help Center & Documentation — read detailed instructions and the FAQ to find answers on your own.
- Contact Support — get help directly from our Support team.